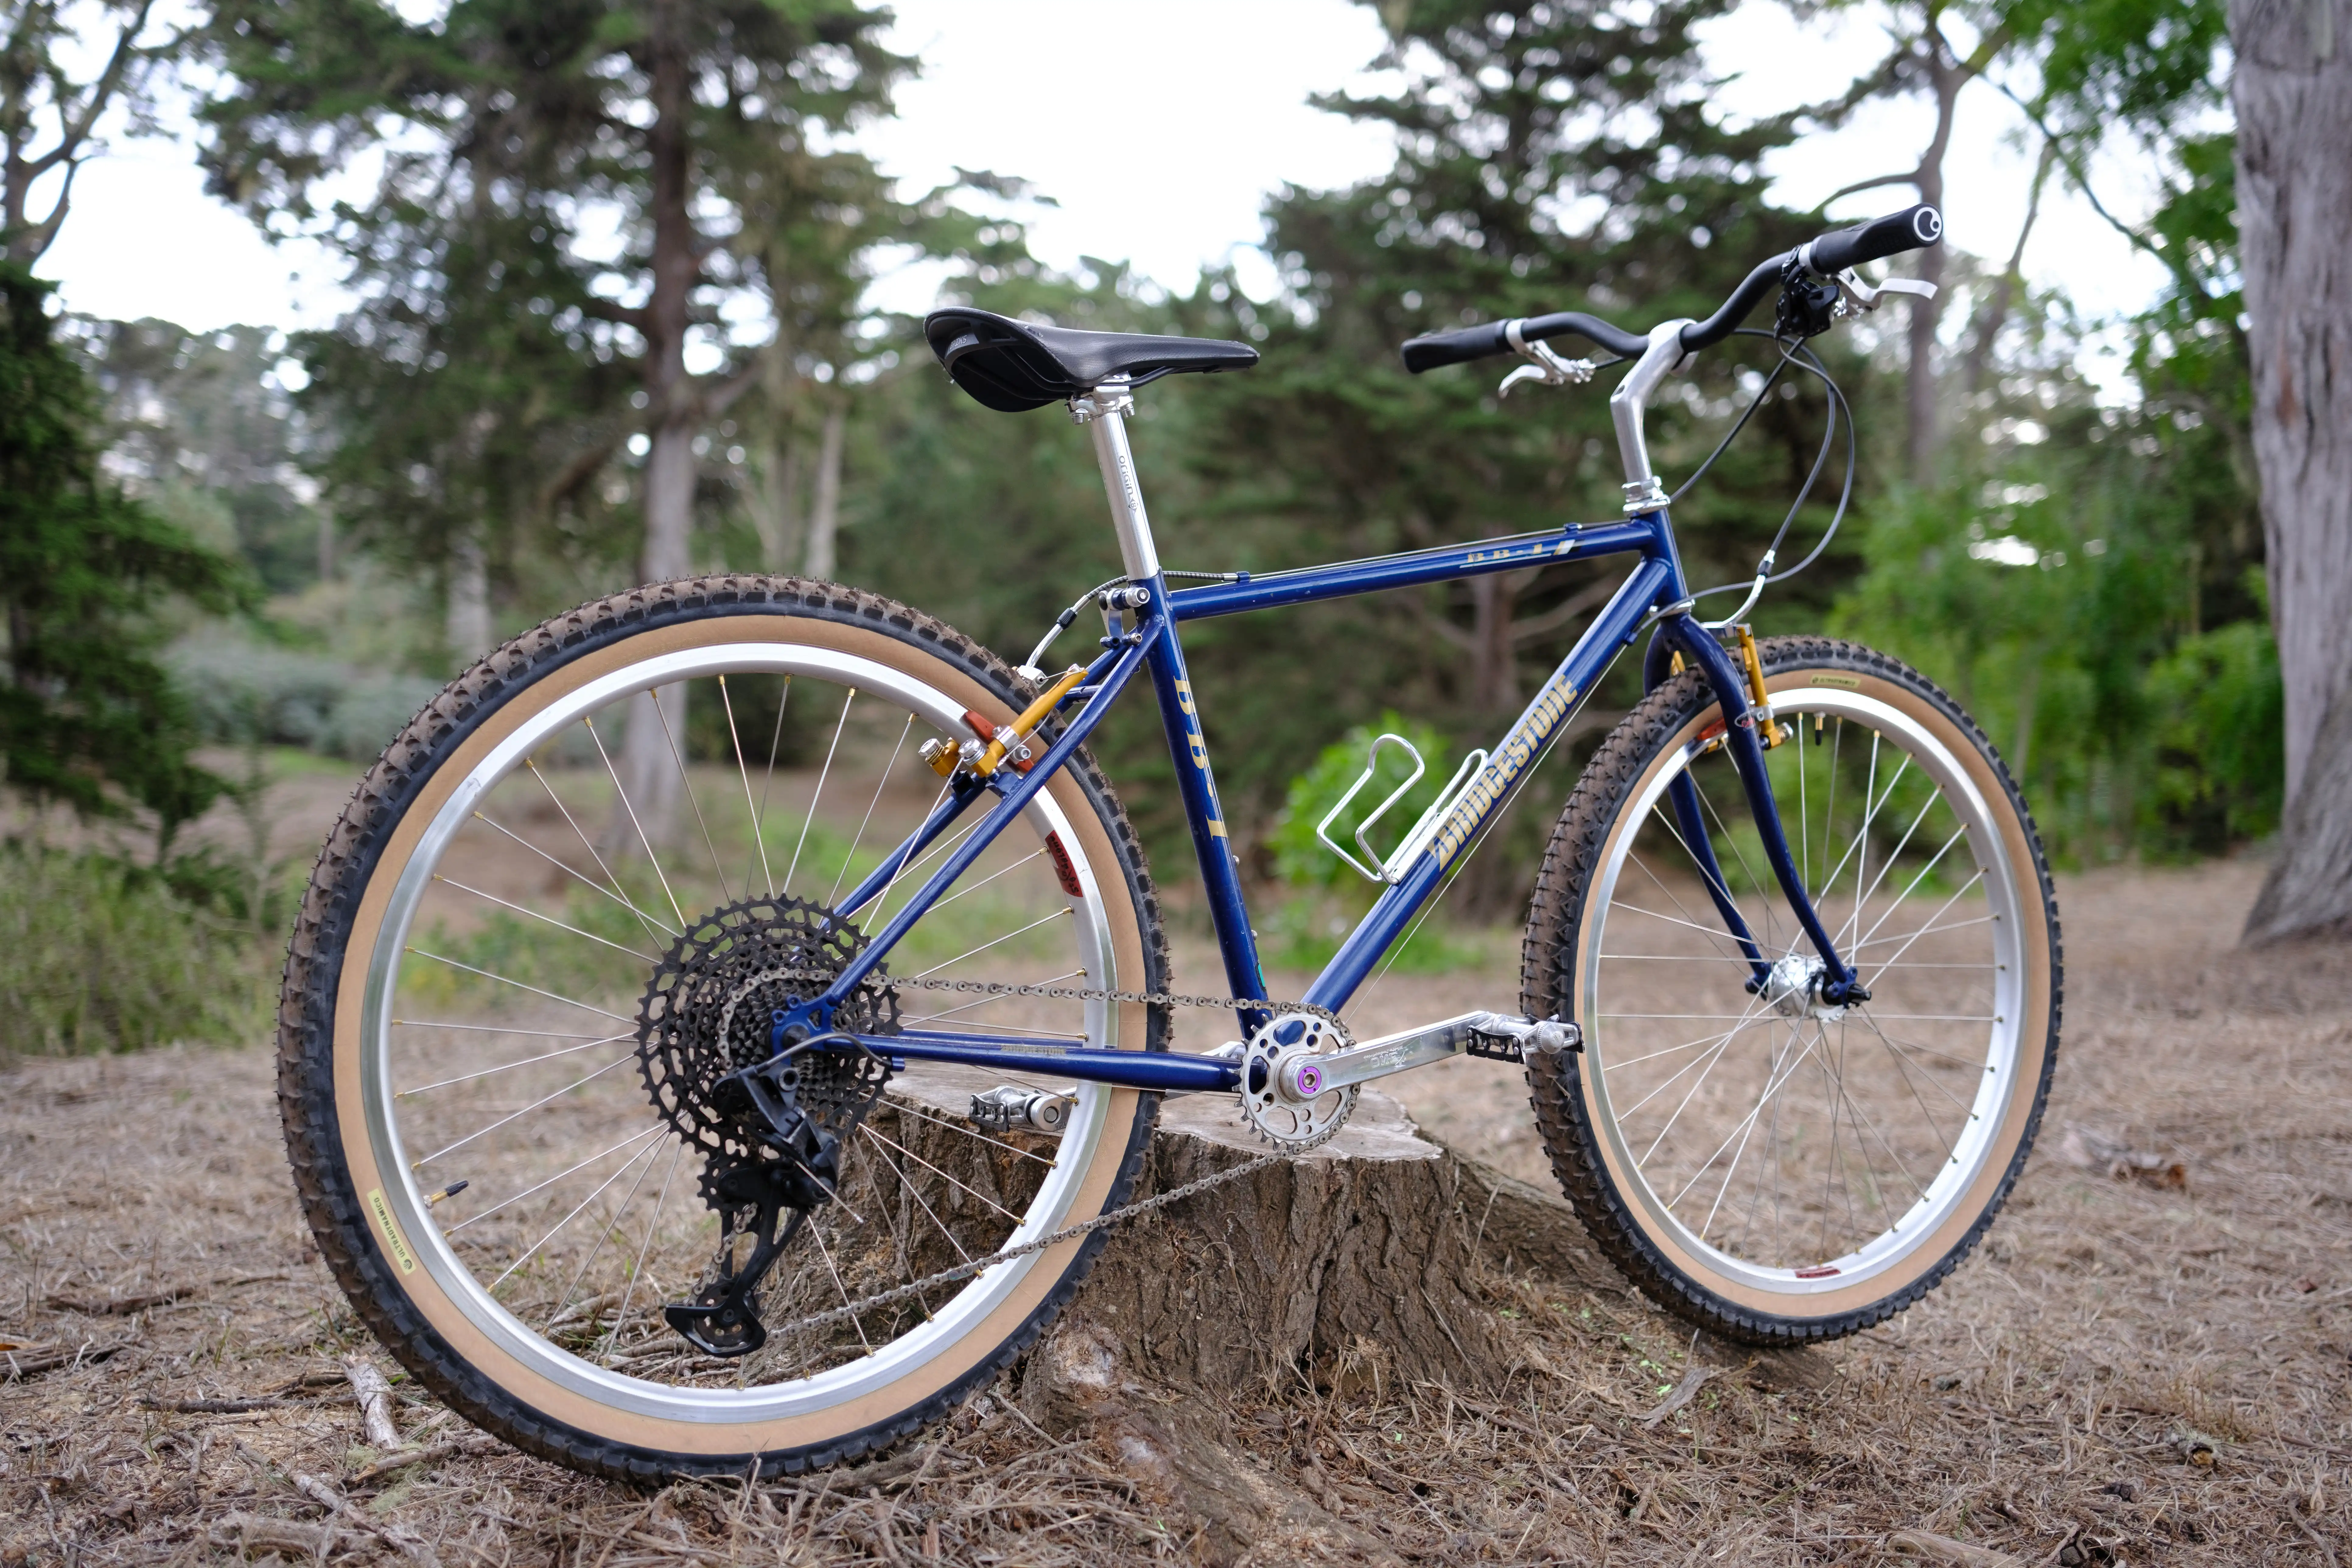
Here’s where we left the bike off in Part 2:
Kat gave it some good test riding.
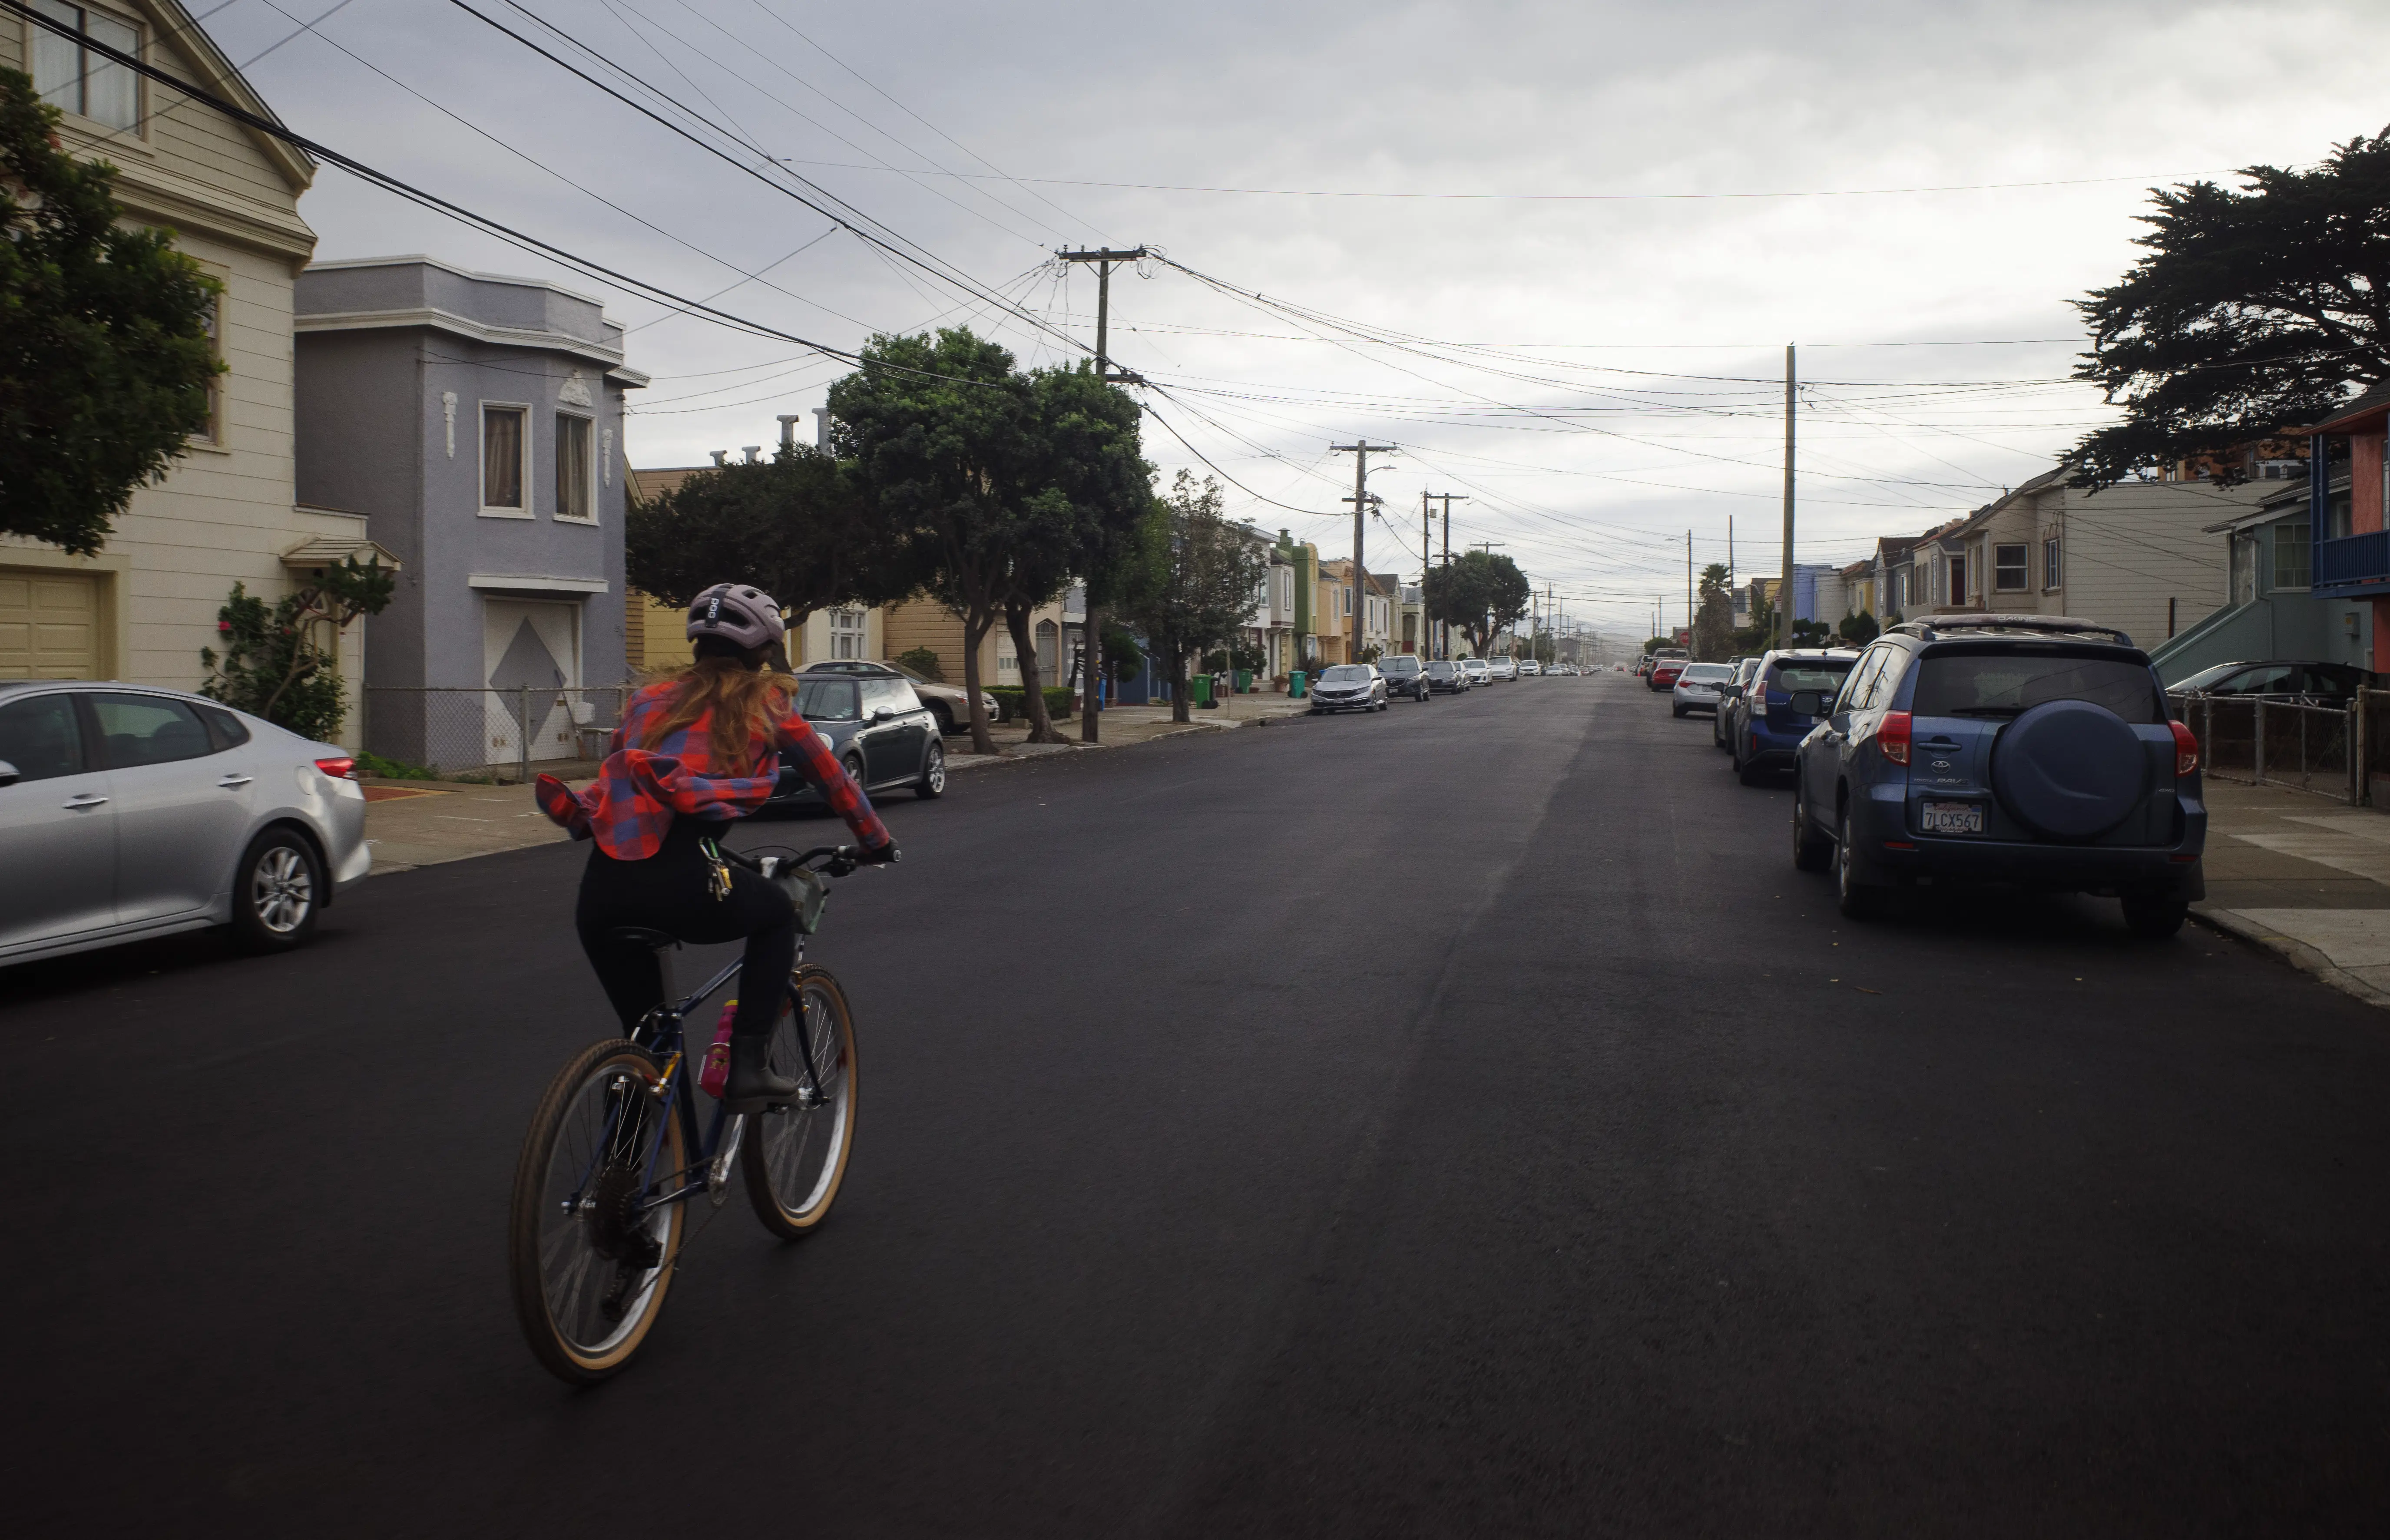
And decided that the bars and pedals have got to go.
The pedals were just some touring-style pedals from the used bin to throw on until Kat could play around with other options. They didn’t have a lot of grip and were quite small — Kat couldn’t get her foot positioned comfortably. She swapped them for Deity Deftraps from our pedal library and described the difference as “like the bike was missing a contact point.” We should’ve gone straight to the bike shop’s pedal library in the first place! Lesson learned about throwing random used pedals on.
And the bars were some riser bars with about 12 degrees of backsweep. Her wrists couldn’t get into a neutral position on these bars — too much extension and radial deviation. She swapped them for Velo Orange Postino bars which solved both issues! The radial deviation was likely solved by the increased backsweep — 45 degrees. I’m not entirely sure why her wrist extension became neutral on this bar but presumably it was from the decreased stack and maybe subtle changes in reach. The bar widths were similar and the reach was probably roughly equal — more sweep but also the bars curved forward before sweeping back.
The other fit issue was her saddle height and fore/aft. Kat felt like her knees were much further forward from the bottom bracket than on her Trek. Our only 26.4mm seatpost was an Origin8 with no offset. It also bottoms out at a height that’s probably a centimeter too high. She ended up swapping the Cambium for her tried-and-true Liv Approach saddle. Compared to the Cambium, this one has longer rails, which lets her move the saddle further backward. It also seems to be a shorter profile, so it fixed the seat height issue well enough for now; no seatpost cutting required! We have a Daija Cycleworks seatpost with some setback on order so she can try the Cambium again.
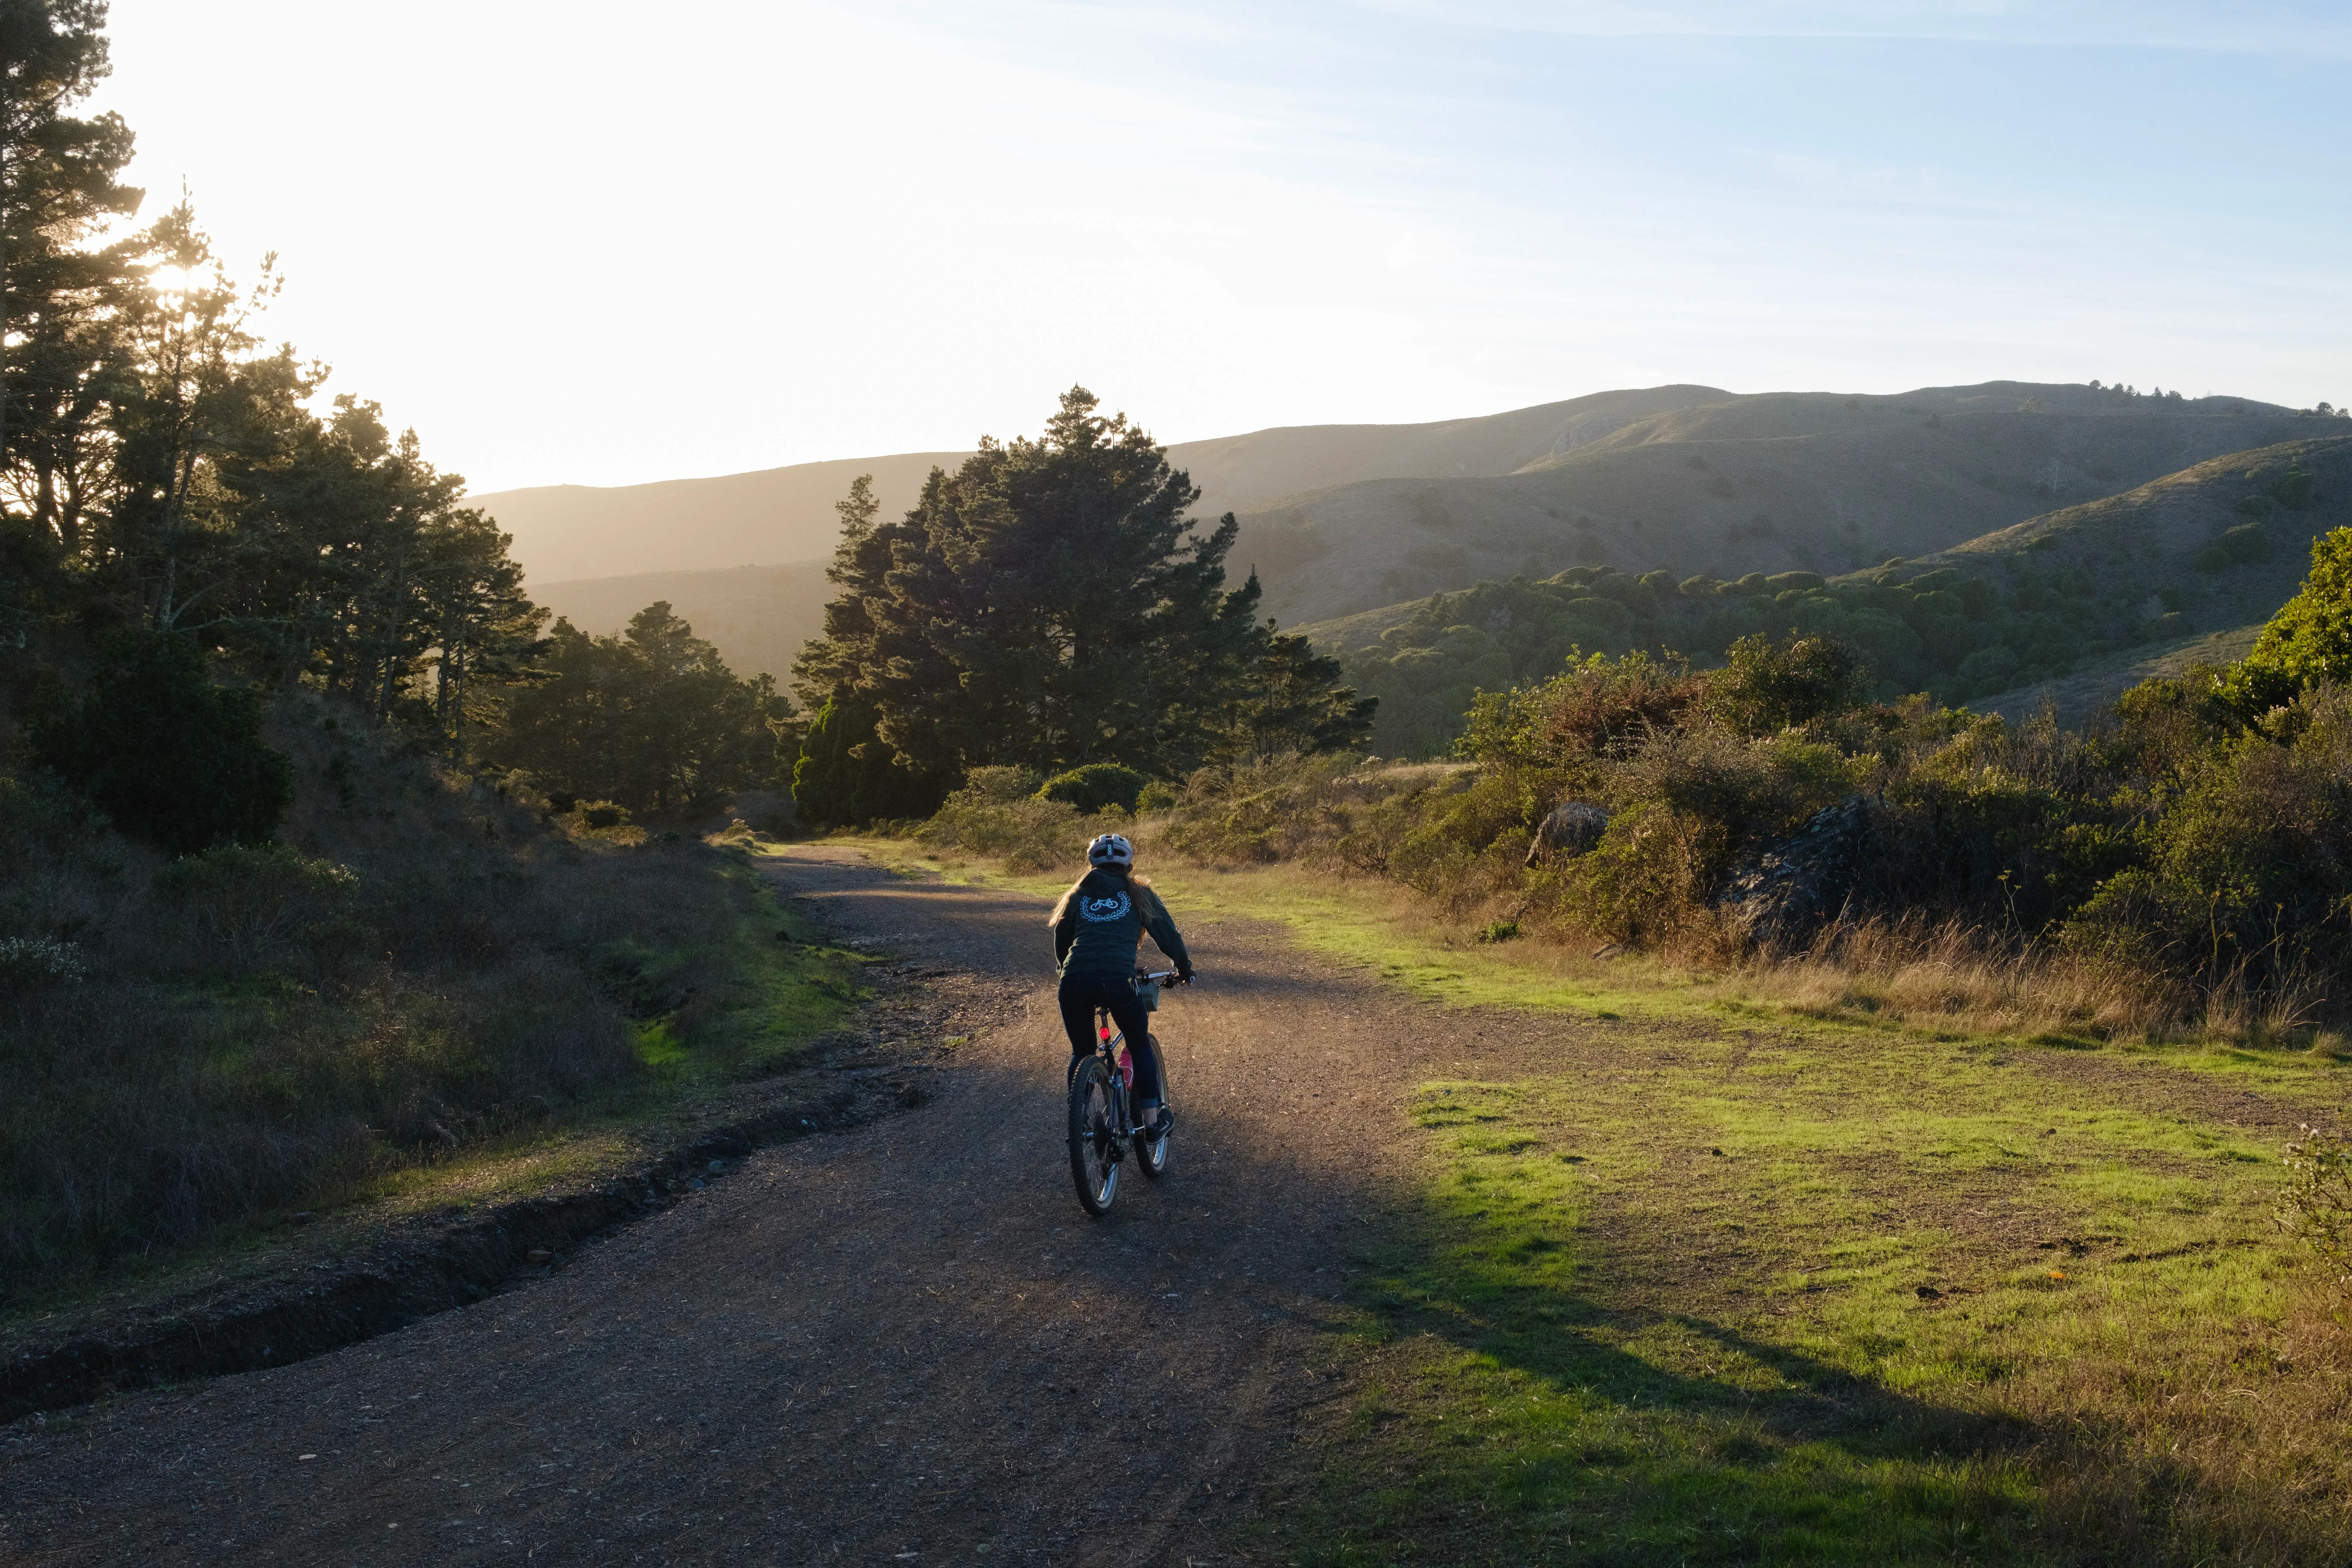
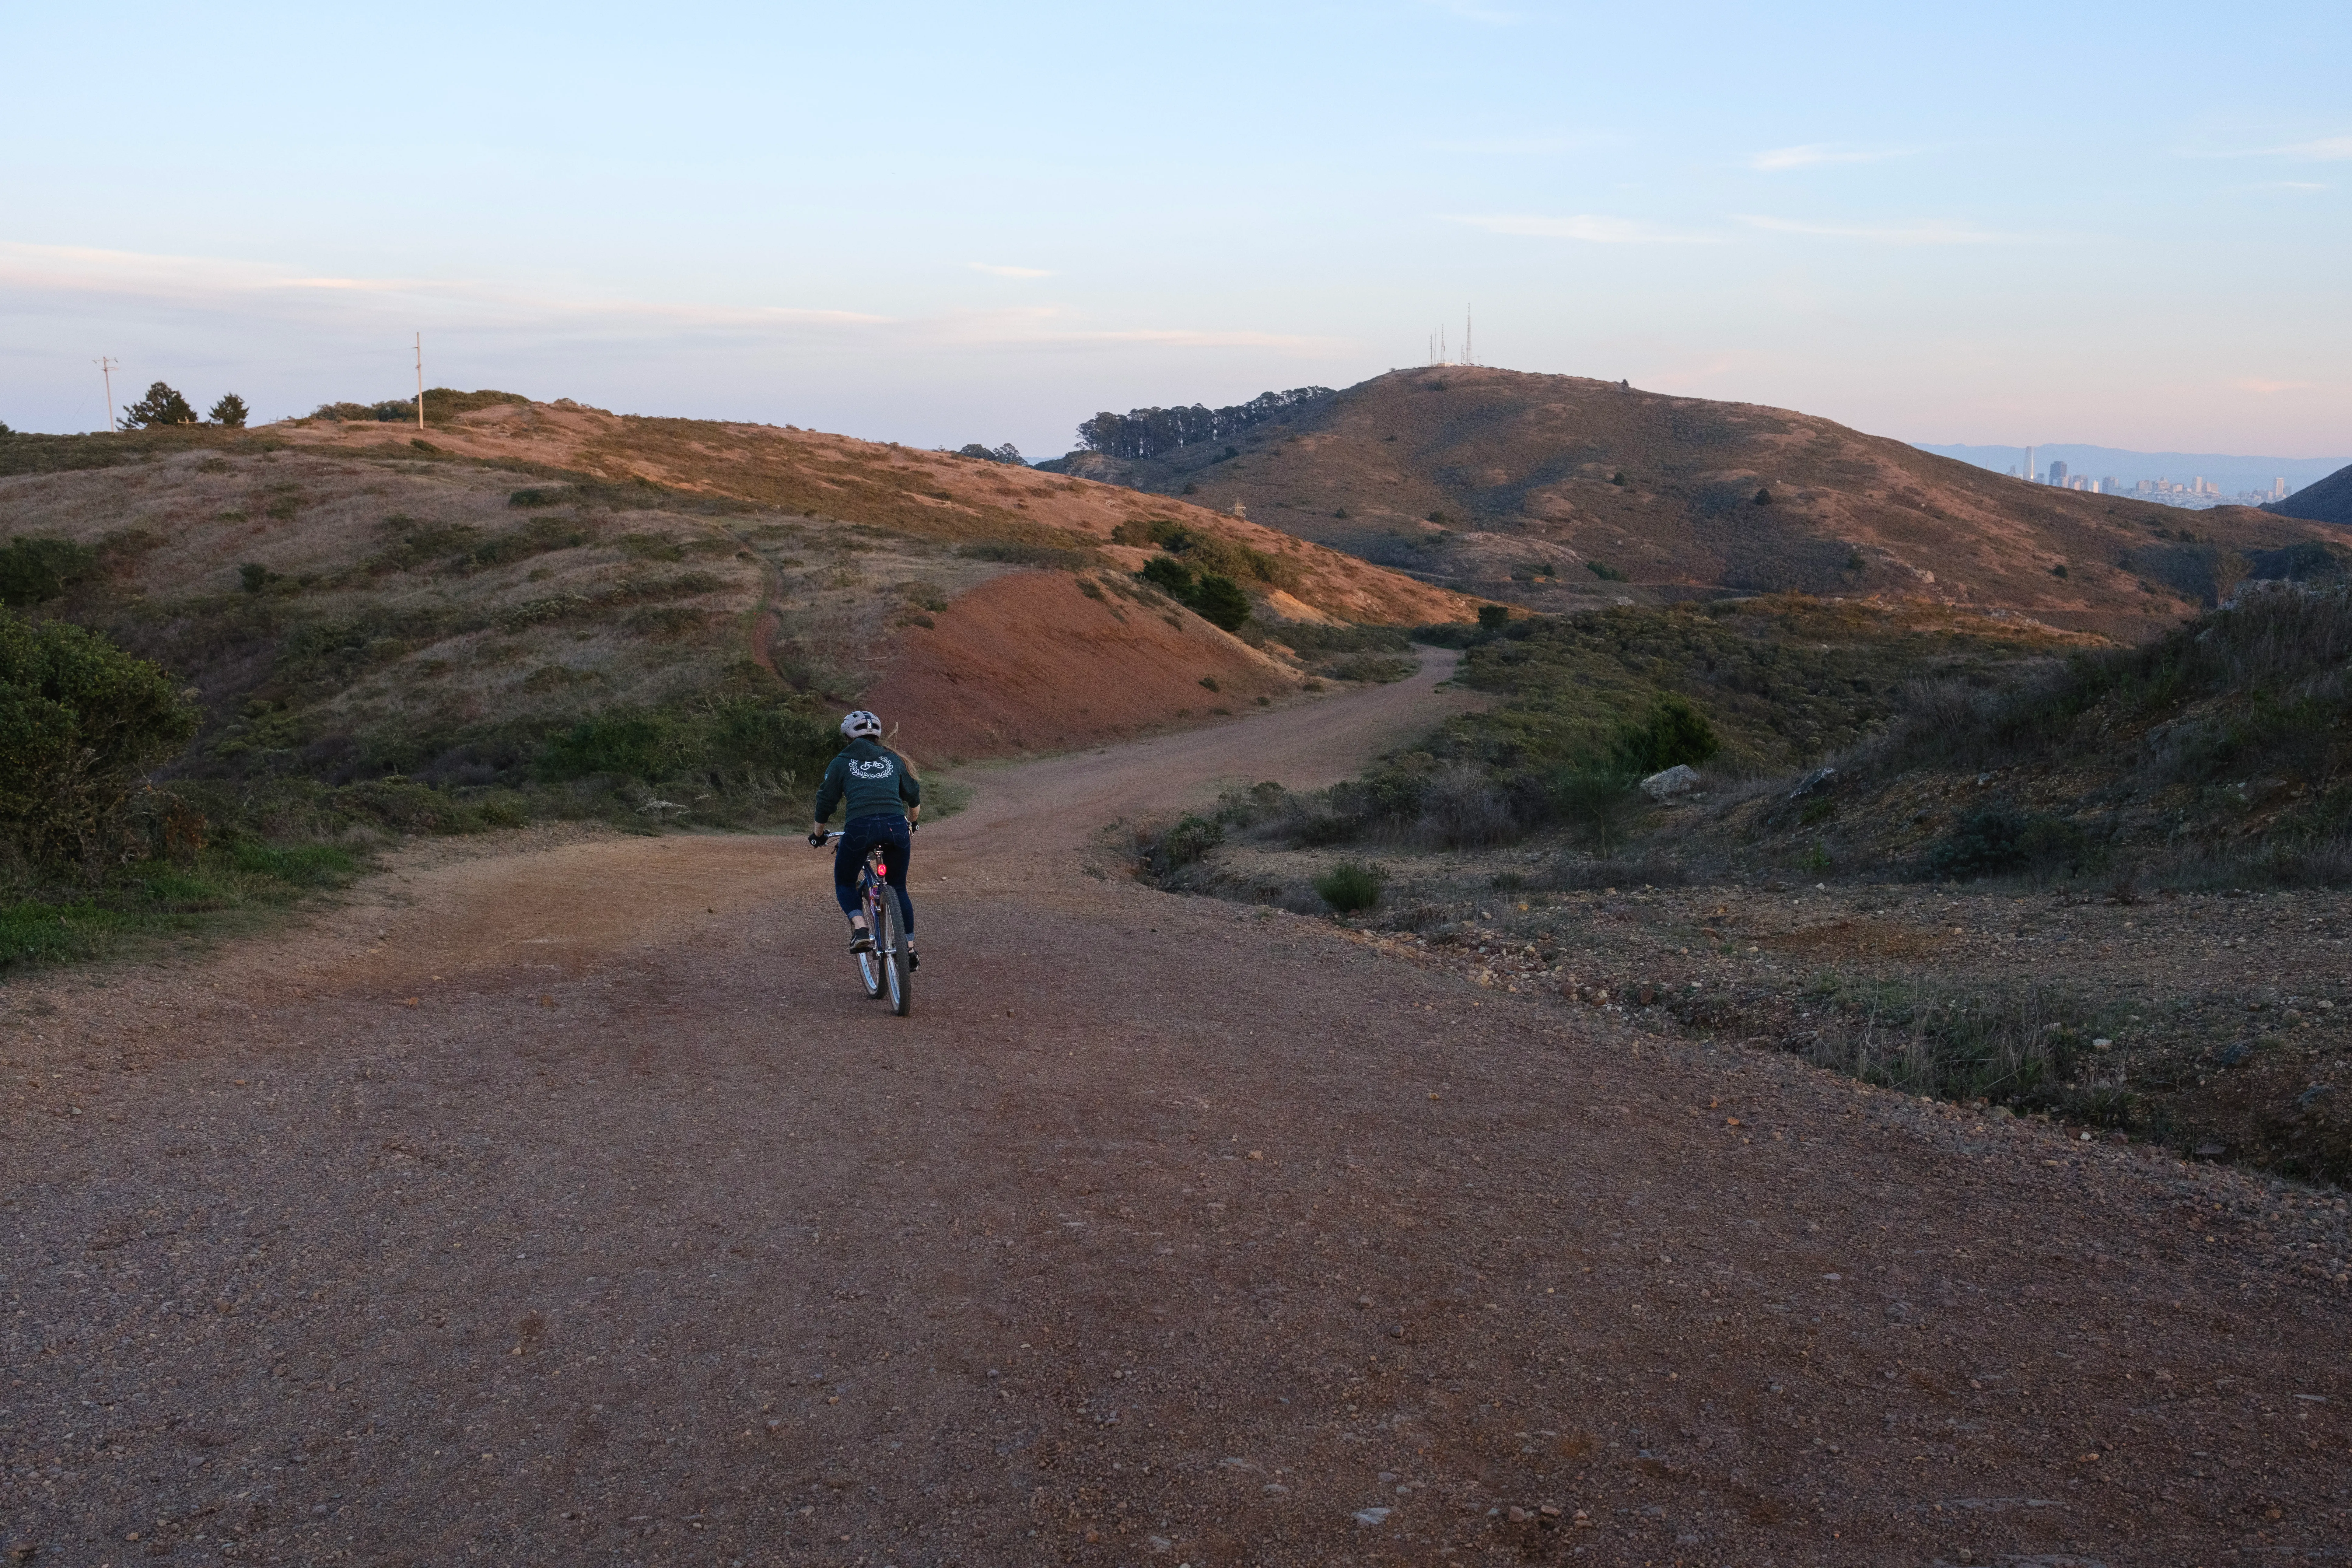
Time for dynamo lights! Her favorite IQ-X front light and a used rear light for now. Let’s take it into the headlands.

Back in the shop. We had never ended up fiddling with the rear brake. The cable guide was drooping towards the tire and the brake arms were sticking further away from the centerline of the bike at their resting position than they needed to be.
Part of the issue is that there isn’t a lot of clearance between the rim and brake. Everything looks nice on the front brake but the canti studs are spaced several millimeters wider on the front than the rear (although both have modern spacing). I started by trying to eke out as much clearance as possible by removing the 1mm washer on the brake pads. The left pad is the assembly we had and the right is the new assembly with the 1mm washer removed. This is the 3mm thickness configuration as per the Kool-Stop manual.
I also played around with the angles of the pads and brake arm collars to make them as compact as possible. The pictures don’t show it off well enough but I did get the brake arms in closer at their resting position (without sacrificing the brake lever’s bite point). Then I futzed around with the housing length to try to improve the noodle position. Much better!

Might as well weigh it at this point. 27lbs 2oz with 8oz of sealant in, phone mount, dynamo lights, and pedals installed.
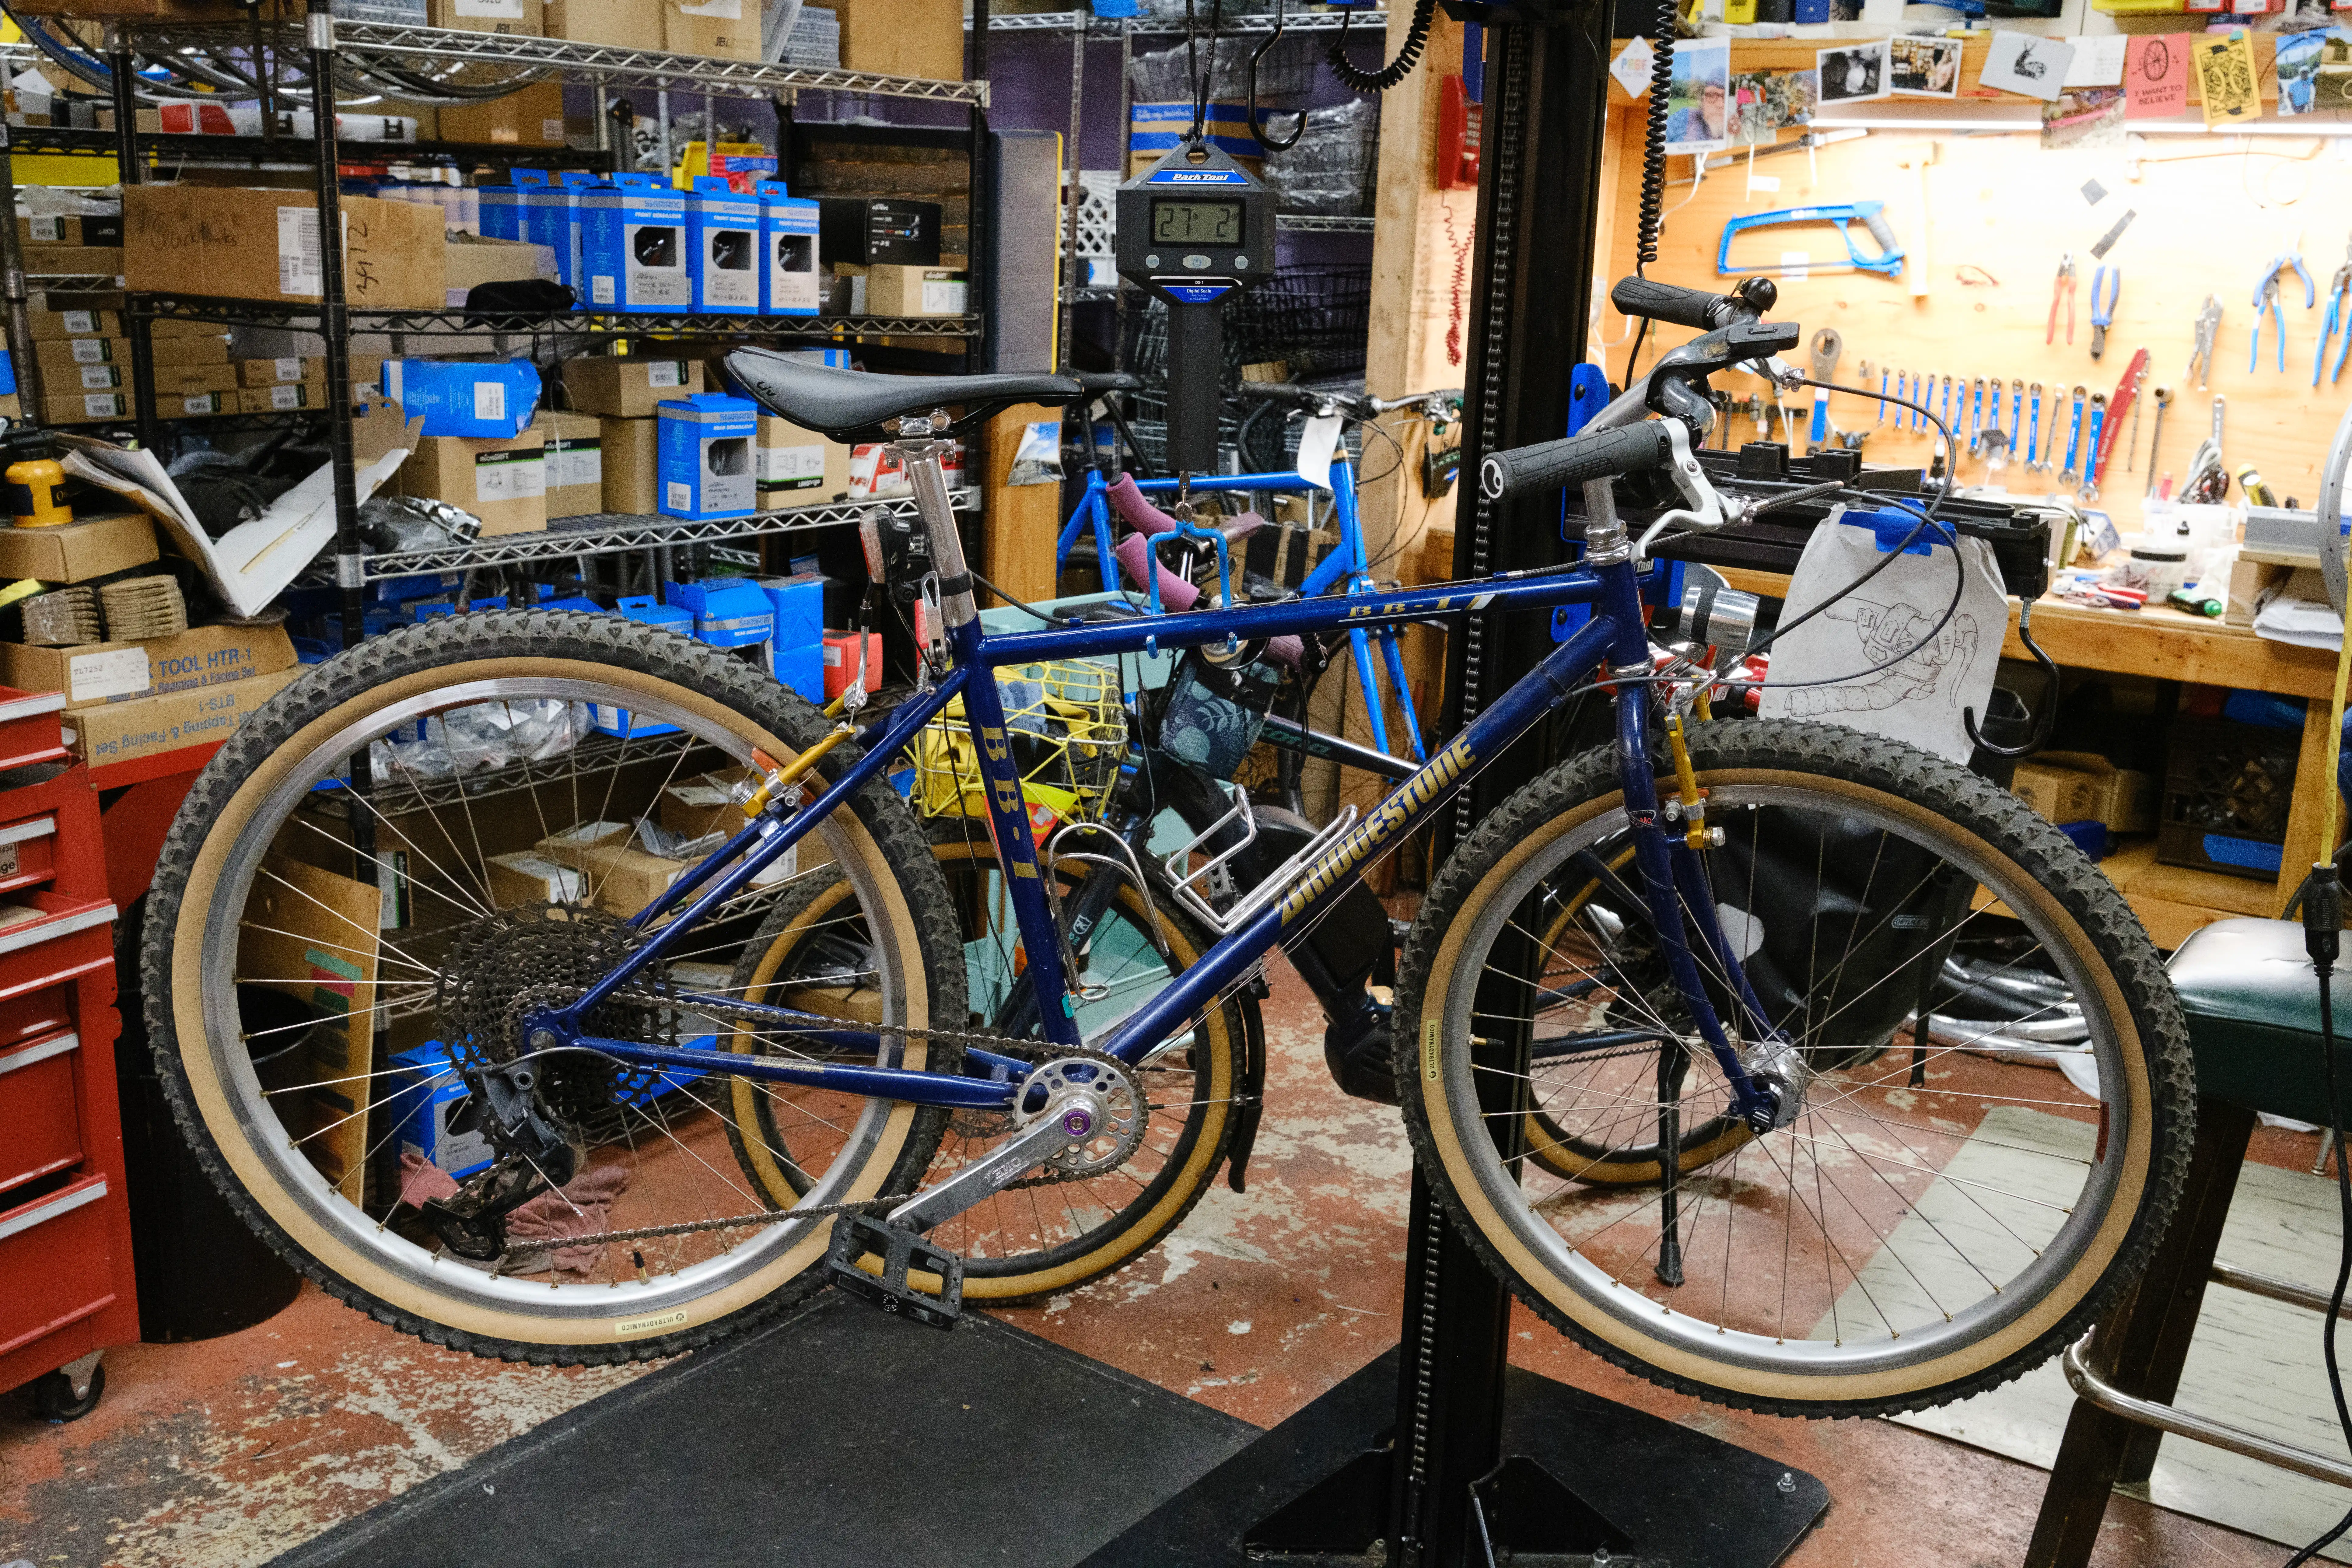
A very fine shred sled.

- Next (): November 2023 Riding Highlights
- Prev (): Loosey Brakus All-City v69