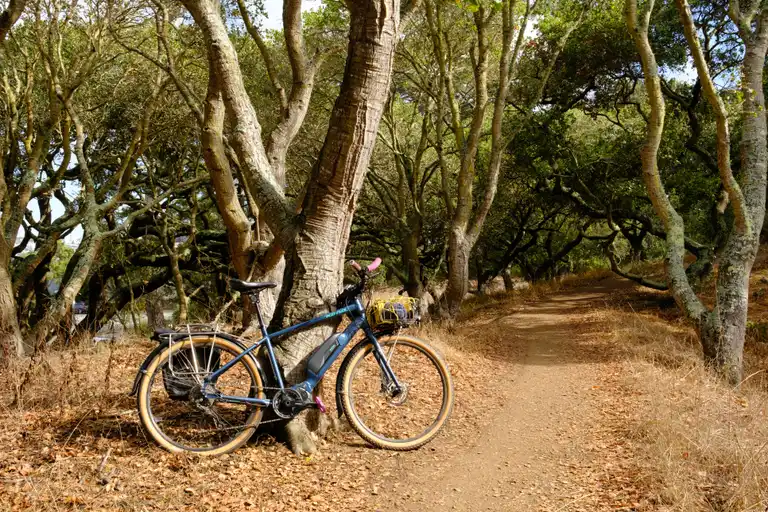
I’ve resisted putting fenders on any of my bikes — I don’t love the aesthetic, they feel fragile, and you still need to wear rain gear anyway. However, my Kona Dew-E came with cheap plastic1 fenders and some of my favourite riding has been in the wet seasons. I had taken them off when I assembled it but we’ve started getting rain in San Francisco and I figure it’s time. Besides, they protect your drivetrain too and I think it’s responsible to have things last as long as possible.
I don’t love the fender dimensions I have to work with here. This bike came with 47mm tires on 19mm internal width rims. The fenders it came with are arguably a little narrow for those. The situation gets tighter because I put a wheelset with wider rims (26.6mm internal width) on and the effective width of the tire is about 50mm. I figured I’d put wider metal Honjo fenders on but I don’t think the frame can fit them. Not without some shenanigans anyway.2
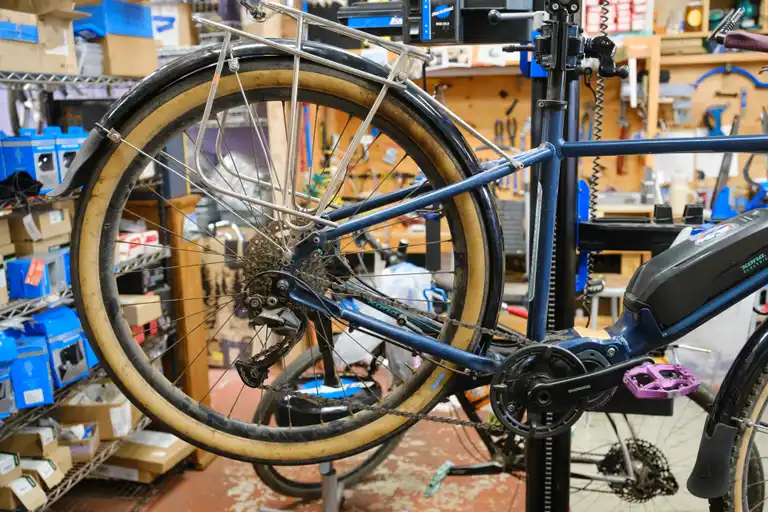
So, given that I’m not even a huge fan of fenders, I’m putting on the fenders the bike came with until they break. This configuration isn’t ideal and I didn’t get that sweet French Fender Line™ I would’ve loved. Nonetheless, the result was good enough for me3 and will give a good picture of clearances for future fender experiments.
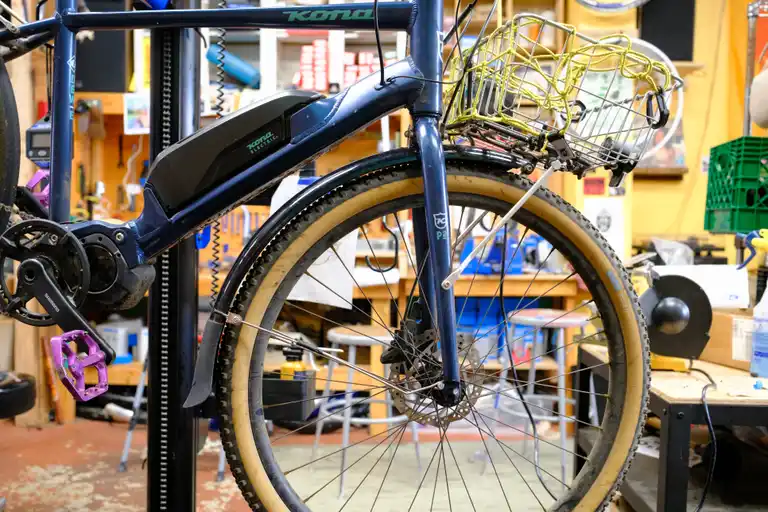
I find these knobby tires yeet a bunch of debris up so I tried to get as much clearance as possible on the front. The inner side of the strut attachment points also gets close to the tire so increasing the clearance helps with that. The result is a bit excessive to my taste but they installed easily and the line is fairly even. All the mounting hardware was already set up from the factory so it only took some minor adjustments. I’m pleased that the struts have safety releases. If something gets caught, the fender should theoretically release instead of crumpling and locking the front wheel.
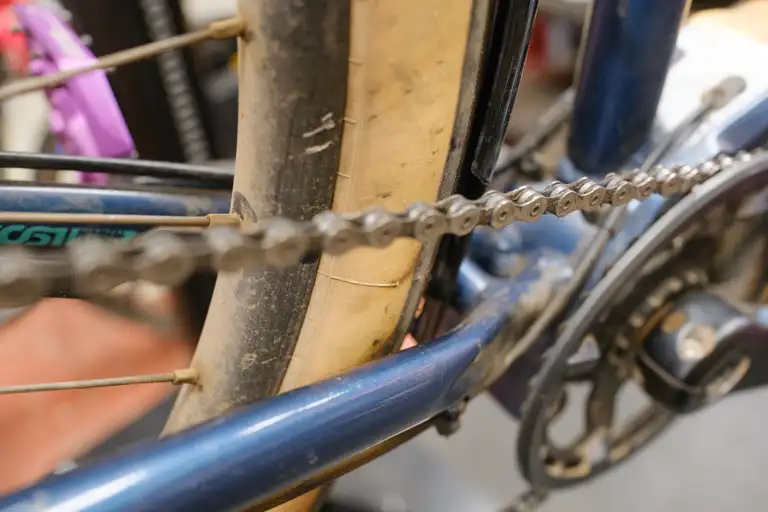
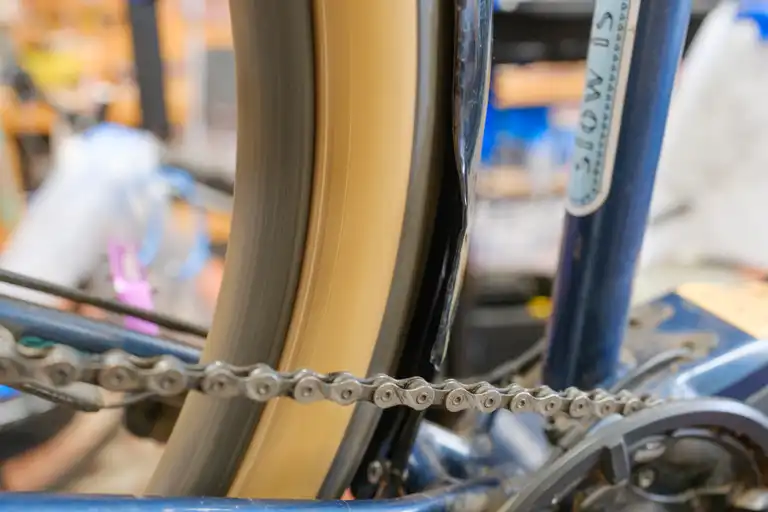
I got into some trouble with the rear fender. The clearance at the chainstay bridge was tight and the strut attachment points at the back of the fender also got pretty close. Thus, it’s not pretty.
Adjusting the struts got me enough clearance everywhere except above the chainstay bridge. And who knows, maybe this was fine, I’m not experienced with fenders. But it felt too tight for my taste.
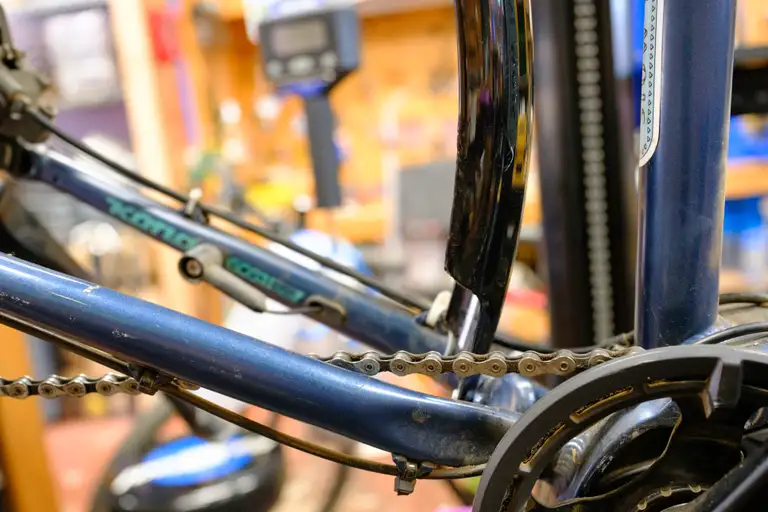
These fenders aren’t chromoplastic where there’s a metal internal surrounded by plastic — they’re just entirely polycarbonate. Sheldon Brown prefers plastic fenders because they can be “reshaped as needed after gentle heating.” So that’s what I tried to do and I did not do a great job. Although it did work!
It started out okay; you can see above that the bottom edge is just slightly warped. I used a heat gun (on probably too high a setting) and then some Knipex pliers to pry the fender open. In hindsight, I would’ve done this with the fender off the bike, with gentler heat, thicker gloves to handle the warm plastic, and some kind of form to mold against.
That started to get unsightly. I got some confidence with it opening up, though, and I went too far. I didn’t get a good picture of how gnarly that bottom edge got but you can see it in the final result. Some important lessons learned!
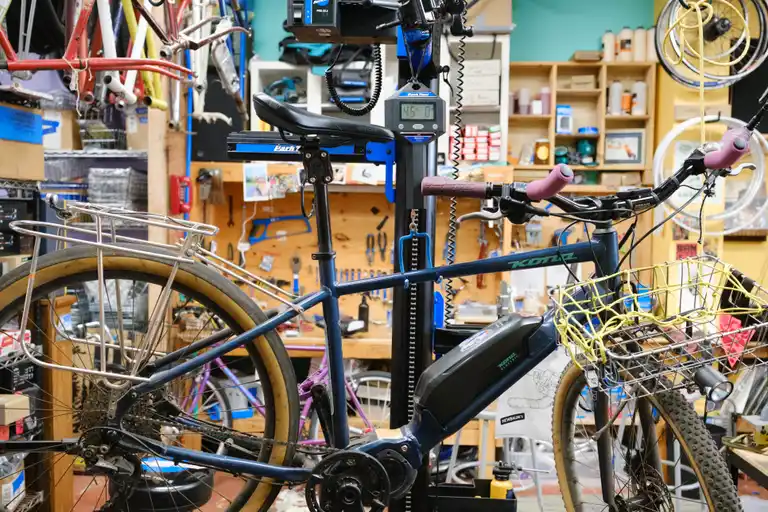
Something I didn’t think about until I had it mocked up in the stand and realized is that the struts could potentially get in the way of my pannier hook. In practice this doesn’t seem to be a problem but for future fender setups it’s something I’d like to think about.
I’m not a weight weenie but I wanted to weigh this bike before and after. The fenders added 0.75 lbs to this 45 lb bike.
This one got rambly, so here’s Gus to make up for it.
I’m fairly sure they’re Sunnywheel polycarbonate fenders. I couldn’t pin down the exact model. ↩︎
I thought about dimpling or cutting notches into metal fenders to clear the fork legs. I might try this in the future. ↩︎
Especially on this bike. One nice thing about e-bikes is that they start off kind of ugly so it’s fine if I do some unsightly things to them. ↩︎
